This was another overdue one and comes to the fact of GPUs getting slightly more in stock over months and well this was time for work to have some desperate measures, to end up going to Alixepress to Gamble £1,00 on some components and that included a GT 1030 with 4GB of RAM (as well as DDR4) But months later and even with prices lower than when I purchased it, its time to do a IOU for me on work and well here it goes. for the GTX 1650 4GB model.
The Packaging:
It got that GPU vibe of aggressive mentions to it, with Clear writing, the Black and Green Colour Scheme Nvidia is well known for, Maxsun have their own twist on it, but all in all its also not very much focused on the design of the GPU itself, the features are on the back which makes it a nice touch too.
 |
| The form of the Box which |
 |
| The right side of the box with the labels |
 |
| The Top of the box |
 |
| The Back of the box with various features |
 |
| The other left side of the box |
 |
| The bottom of the box with the features in small print and the max sun logo |
Now it comes to what's inside the box since it's ALOT less than other GPUs, to be honest. So I'll list it below:
- Warranty card x1
- 1650 in an anti-static bag
- Foam
- Thats it
Now to make it clear, that makes it so there are NO drivers included which for most gamers not a problem if you go to the
Nvidia site, Also
maxsun do have drivers linked too. But that links to the Chinese Nvidia link for the drivers. So be aware to download some before installing the card. But the box does protect the GPU via the foam inside, so it was not a tight fit to make it easier. Thats all of note to be honest.
 |
| The inside of the box with the warrant |
 |
| The back of the warranty card |
 |
| The card inside the static bag inside the box |
 |
| The Card outside the foam |
 |
| Sometimes things are underneath the foam, not in this case |
So then it leads to see if it will fit in the steam box and how the card looks.
Look at the Card.
It's actually a decent card, it's not gigantic, but it's also not a small ITX based which is lucky for the steambox. But it's got the 3 outputs, and a nice backplate as well. Plus its got the RGB logo at the top, this model has no RGB in the middle like the Site mentions. But there is a 8 PIN PCIE connector too, which means it does need more power than the previous Card I've ever owned (3 cards to be honest). The heat sink pipes are nice too.
 |
| The front of the card |
 |
| The right hand side of the card |
 |
| The back of the card with the terminator logo upside down |
 |
| A look at the top of the card |
 |
| The left side of the card with the DVI, Display port and HDMI |
 |
| A closer look at the heatsink and PCI x 16 |
Then t was time to see if the card was too big to be fitting in the machine itself.
A Time for the Fitting in the Steambox
So it comes to getting it fitted and well there is the chance it will not fit in there and that was my worry, But lucky the Antec Case does have the support for the full-size GPUS for the most part, but this sort of shape is a good one for this ITX machine. So it comes to a case to see how it fits in, the PC is dusty.
 |
| The inside of the Steambox before the upgrade |
So it was the case to then get the card ready to slot in, it was not much of a easy one and the good thing with the PCI flap being the way it is, the cables were not stretched but the Audio one was being in the way for it to settle in there as it should, But a bit of pushing, it was then fitted and ready to install the Drivers and see how it glows.
 |
| Fitting the card inside |
 |
| Checking the PCIE 6 pin connector |
So then it was time to see how it goes with the blue LED strip on the PC and it actually is a bit weaker on the GPU than the strip so it's not as noticeable., But there is a faint glow if you look hard enough.
 |
| The Glowing of the logo with the blue light |
 |
| A better look at the strip |
 |
| The case was back and closed |
But then it was time to install the Drivers.
The installation of the Drivers
This is the standard affair for this Since it's the Nvidia drivers that just install as normal. So that was from the Nvidia site and then it installed even with the reset option. But some Devices IDs can be an option here if you need it.
 |
| Maxsun's page of the drivers |
 |
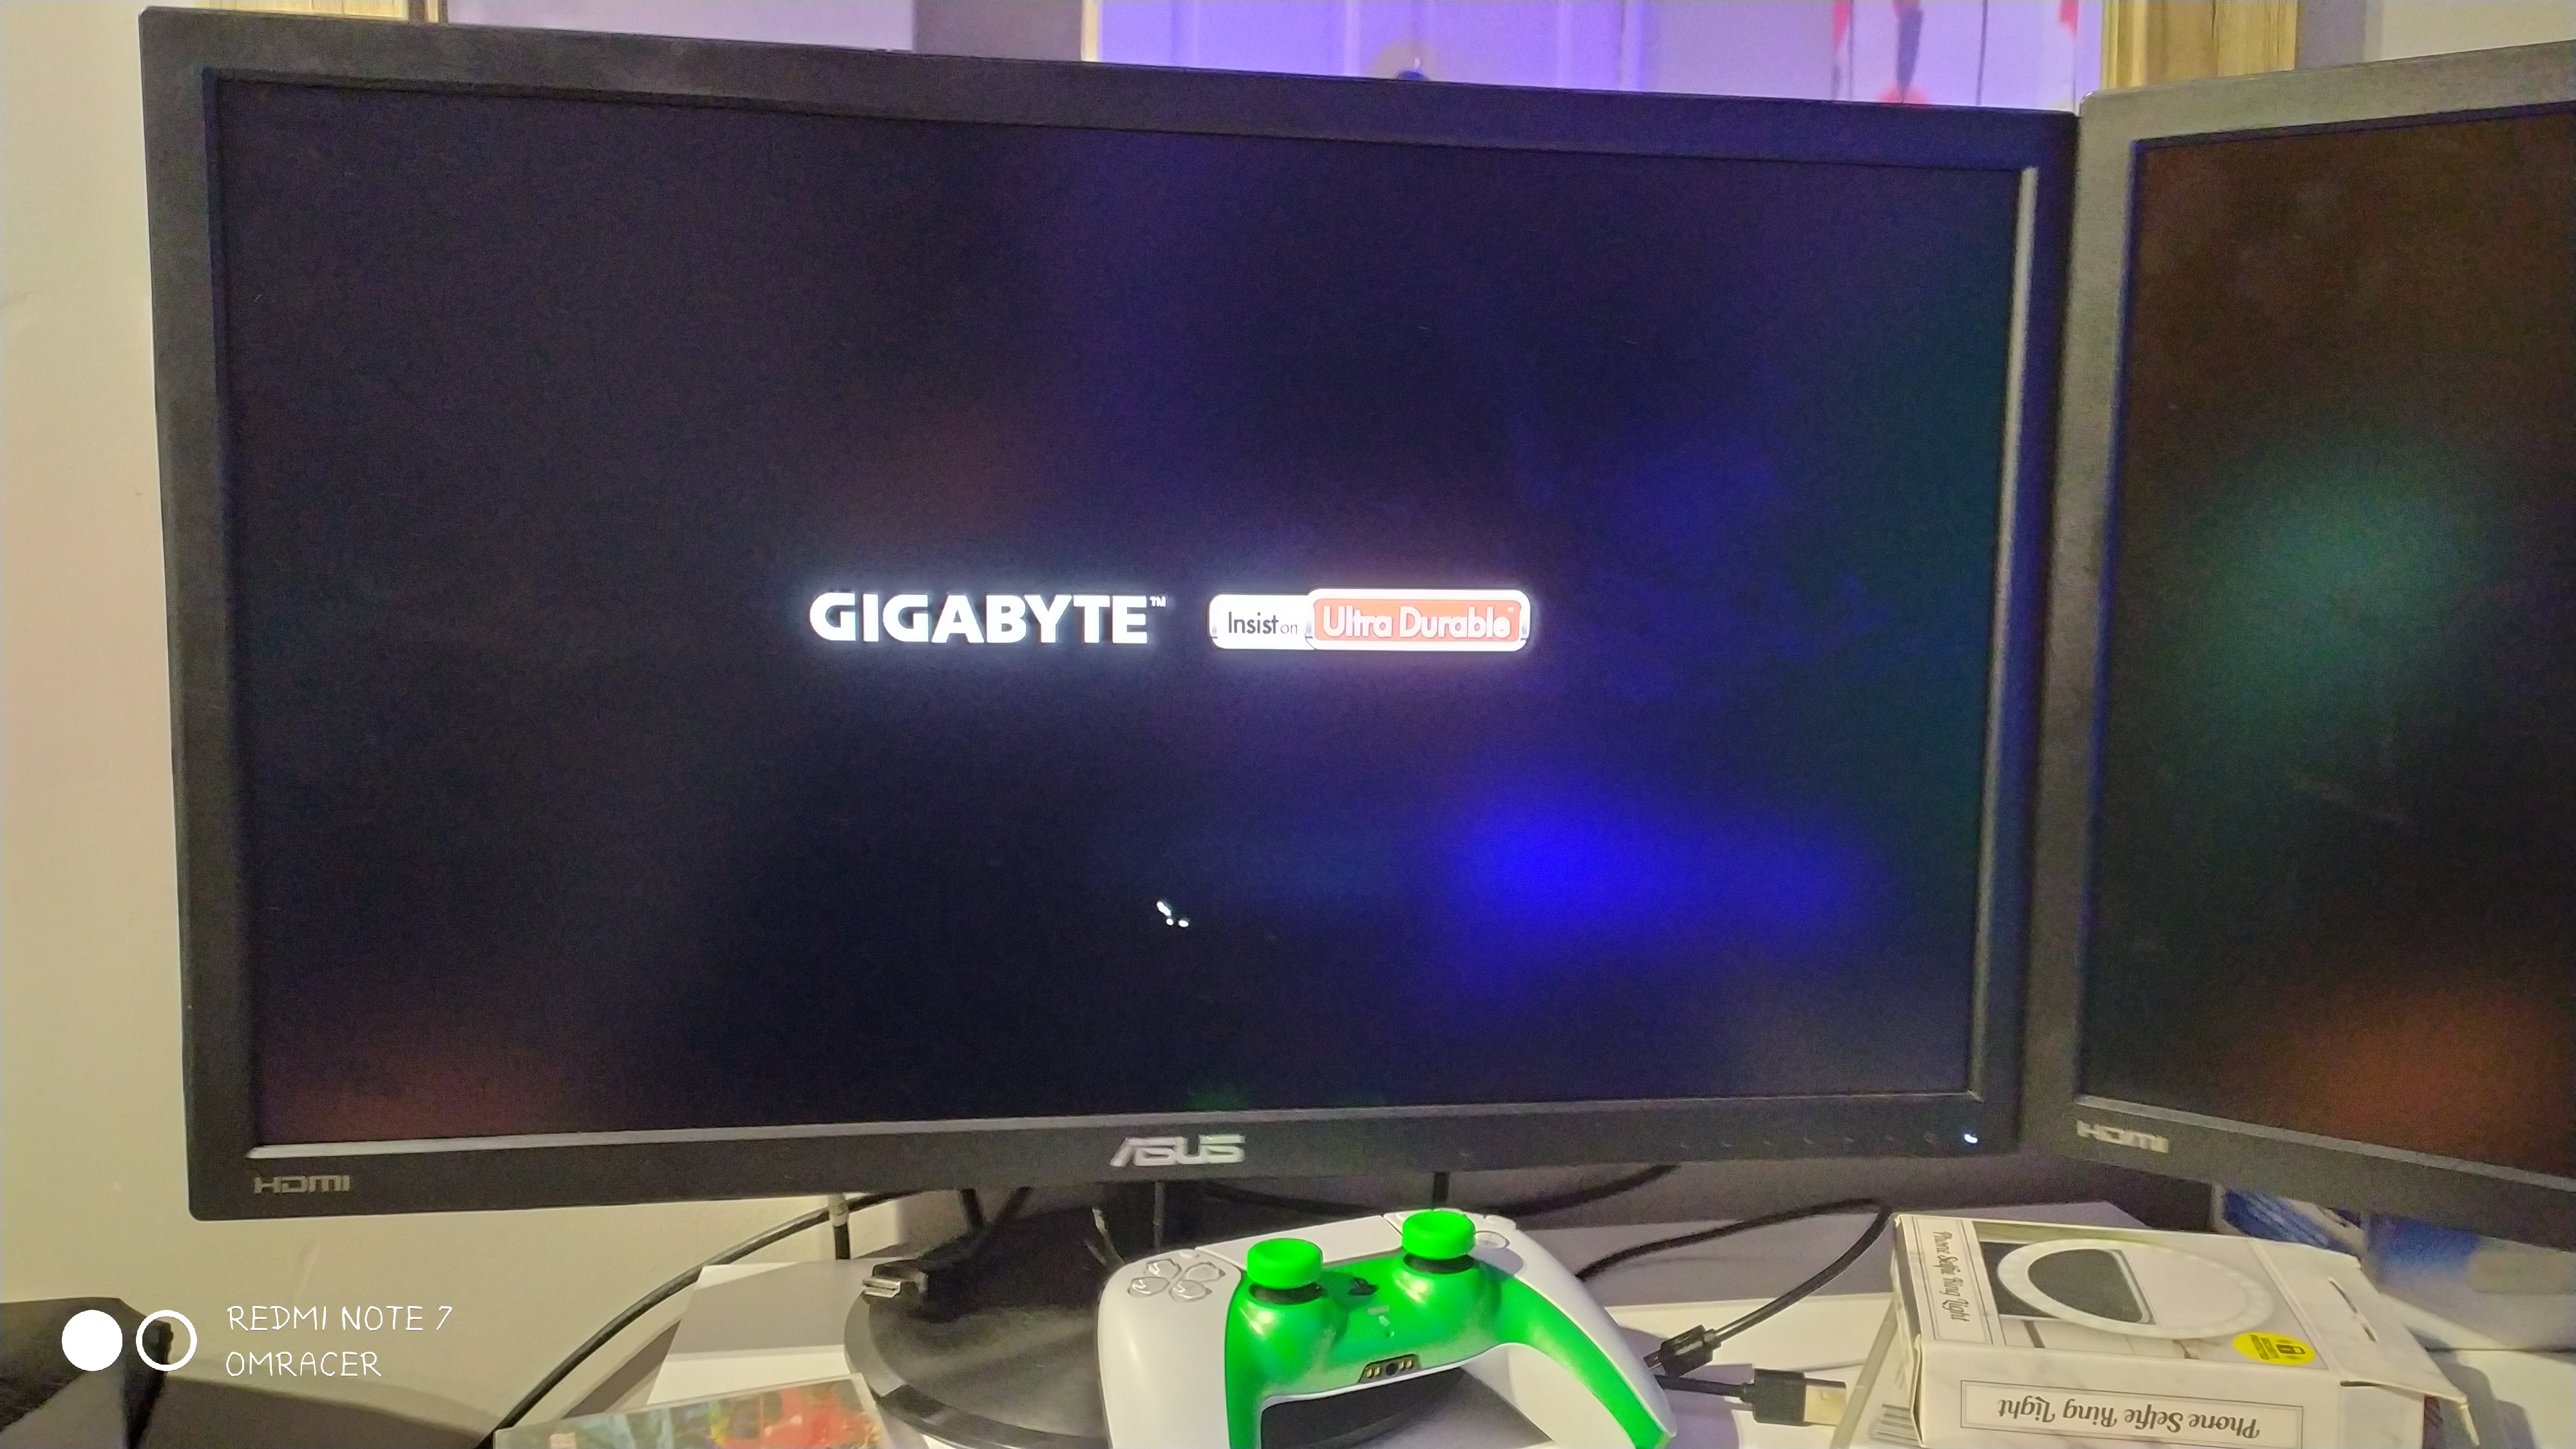
| The POST before and after installing the Nvidia drivers |
 |
| The status of the device |
.png) |
| The Description |
.png) |
| Device IDs |
.png) |
| More of the compatible ones |
.png) |
| It matches this if needed |
.png) |
| How Windows decides aka the event of the installation |
So then once the Nvidia download was done, it was time to install and do a clean install of the Game Ready drivers and NOT install GEFORCE EXPERIENCE since it can cause the issues of the games and files being a bit nerfed and the login needed to updates drivers is a pain. So that I skipped and a clean install is good for the first time.
.png) |
| The Installation options |
.png) |
| The installation finished |
.png) |
| The driver info |
So, that means it is installed and it means it's time to finally test this out to see if it does make games better, well the answer is going to be good. Especially with the fact it seems to be the case of the fact the
gen on the NVENC is the turning one not the pascal or titan on aka 7th.
The Tests:
Well, it's Going to be the case to see how things will perform since this will be the case of what games are going to work, well most of my collection will. Just a difference in how much of the improvement was to be decided, which for me it will feel like that for sure.
The Games:
So we have a few Games to try, some not as well known but some were a big difference to the usual line-up:
#1: Train Simulator:
Now, this actually is the reason of many to get it since I've been wanting to get some modes enjoyed which is of local routes such as the
BHBP and there are some others. But it actually is a surprise how it almost was the Same on some maps/scenarios but when it came to the in-game or main content from Steam was nearly 100FPS in some parts which means it's fine. But there are some stutters which is always the case with it, even on an SSD on the Xiaomi 6 Pro E5100 so might be just TS. But it was nice to have it on high settings.
.png) |
| The menu |
%2012_04_2022%2022_43_41.png) |
| Loading screens are always high FPS |
%2012_04_2022%2022_46_06.png) |
| One of the Scenarios always has a loading glitch |
%2012_04_2022%2022_54_31.png) |
| The inside of the cable |
%2012_04_2022%2022_58_41.png) |
| This was around the 40fps mark |
But all in all, it does make it nicer to play on the higher ones and even with FXAA settings it worked. the only issue was that Bloom might have made the in-cab light a higher FPS drop when it was turned on using the H key if I recall. But even on low settings on a iGPU, this game could even go at 40 to 50 FPS.
#2 Minecraft:
It runs on all high around 70 render chunks at 60fps 1080p. its NOT a RTX card so no need to enable those features. But this is more than enough since even this runs on HD 4000. Smoohtly.
 |
| The world works fine |
#3 Tetris Effect: Connected
An interesting topic but this game does need more power than it seems and this really is a crisp game and does play smooth on lower settings with the MX350 but on a 1650 and it can bring that extra brunt. There is some lag when it transitions from one to another but it is so smooth after that.
 |
| The settings used |
 |
| That does look beautiful |
 |
| But scores are not as good from |
But eventually it ends up with a few more games to try, this is not as demanding but still beautiful even in low quality.
#3: Goat Simulator
This is not as smooth as thought but it does play nicely once outside the menu8 and in the game itself .. But it works which is the main thing.
%2012_04_2022%2023_34_38.png) |
| The goat being laggy |
#4 Fall Guys:
This is the most shocking out of all of them, in terms of how smooth this is,, like this was barely getting 60fps EVEN on the MX350 with low settings, either thats the dual core or that MX350. But this was nearly getting in the 170FPS on some settings. There were some lows of say 70fps at times, even when recording so it is not looking as laggy.
 |
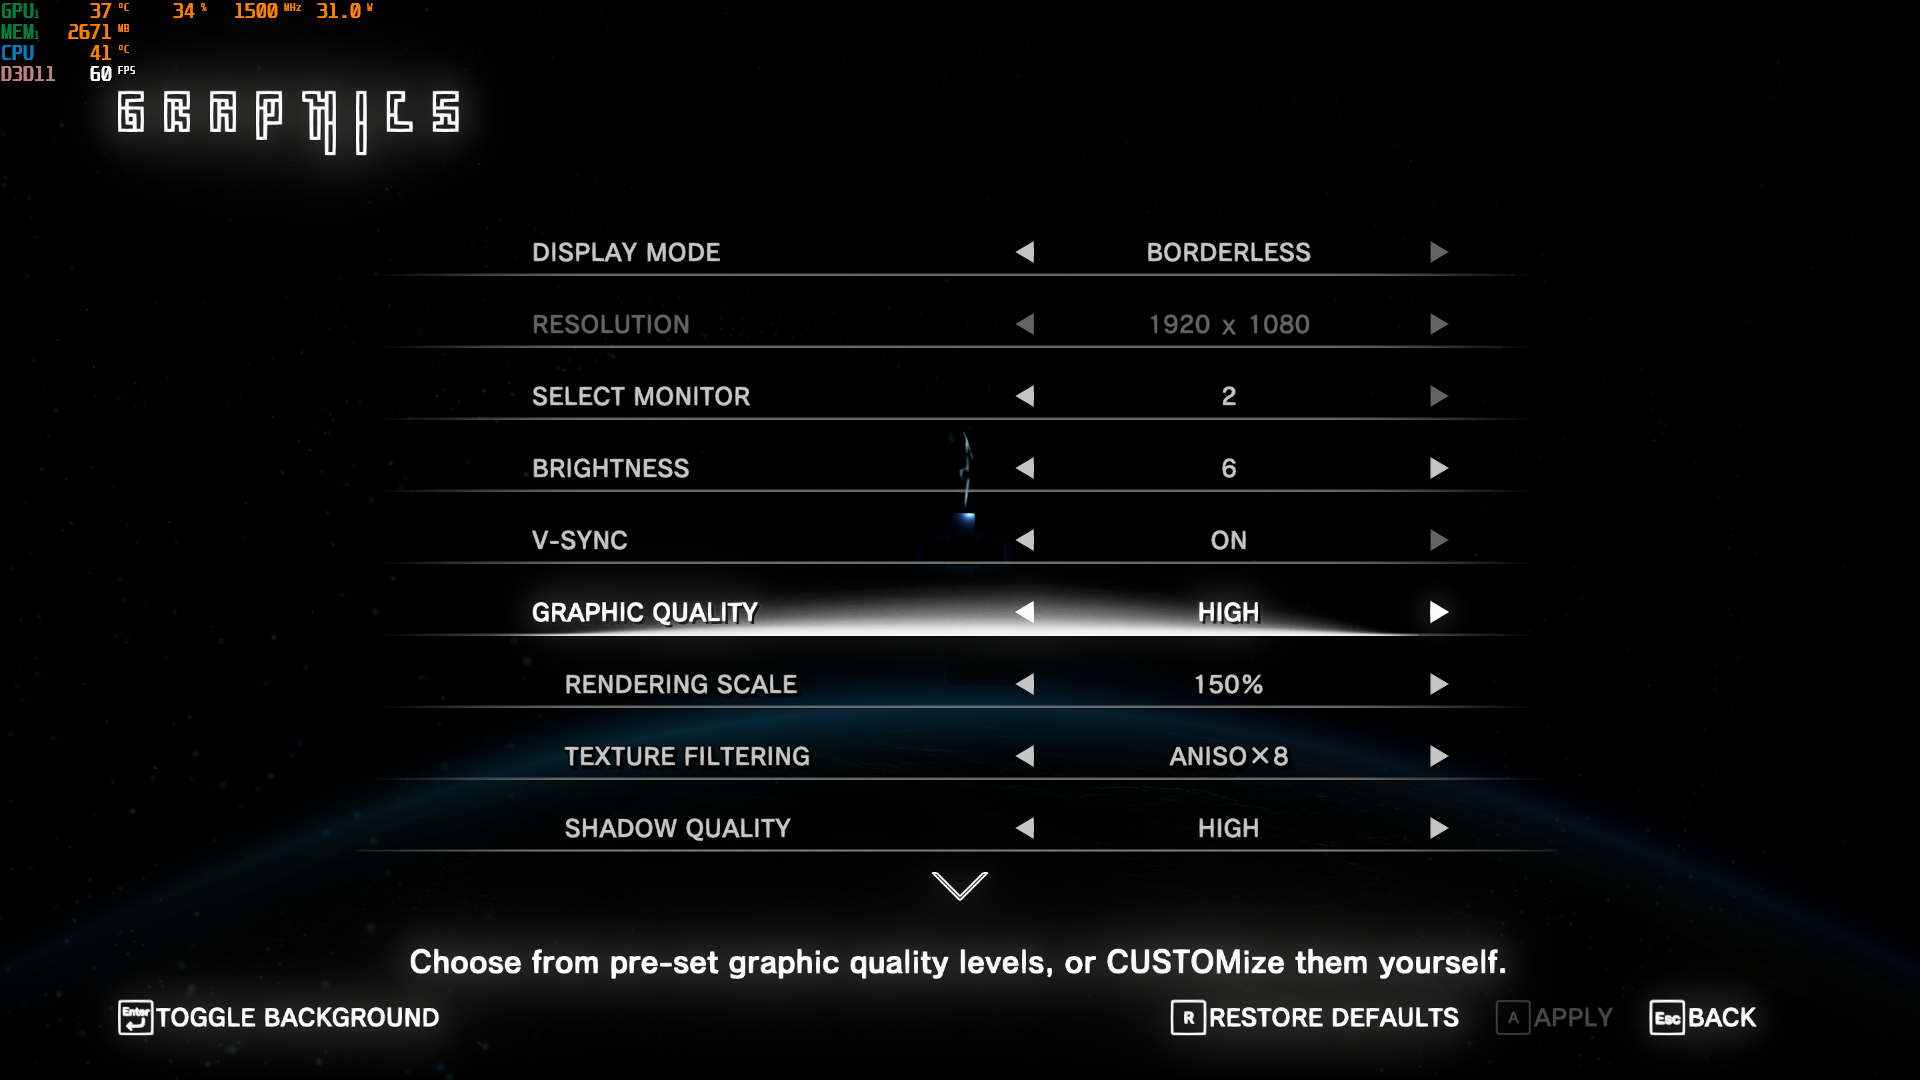
| The original settings |
 |
| Those Frames |
 |
| Upped the settings |
 |
| The loading was getting some good frames too |
 |
| This was smooth to watch |
 |
| Even smooth to play as well |
As i upped some more settings, the connection was getting VERY droopy and weird, since it was like I was playing alone, then it disconnected on me, like hmm
 |
| Uppped more settings |
 |
| It seemed ok at first |
 |
| But then it just locked me out and kicked out |
 |
| Another map to try |
 |
| I seemed to get somewhere |
 |
| Then I walked to the finish line and did not get kicked out until later on |
So it means it makes no problems with the game but the connection is getting glitchy even with the wired connection and at UK midnight time which is less usage on the local broadband .
Which then leads to another Epic Game:
#5 Fortnite
So this one was a surprised in its own right of how it was the WORST of all of them. So here's how it went.
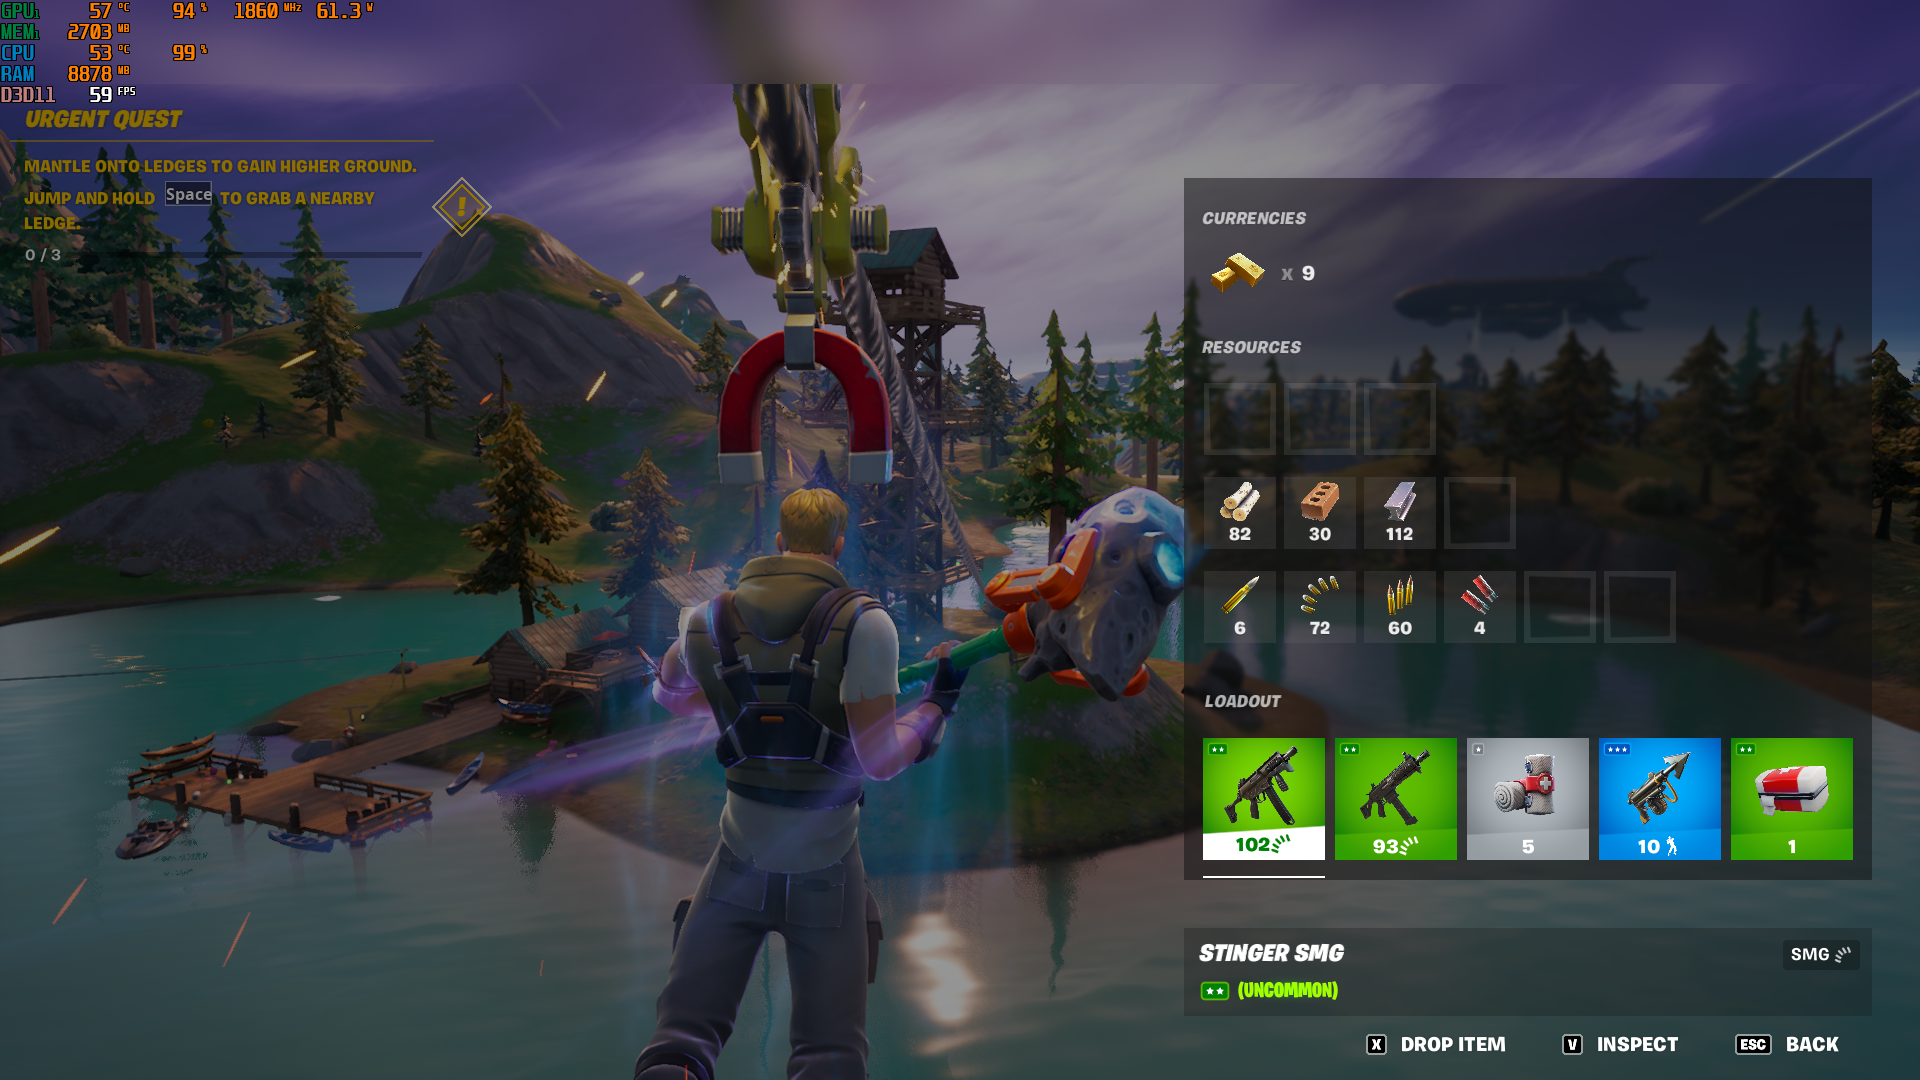
The setting was on DX 11 first and it was unplayable, with not even 40 fps and even on lowering the settings down too. But that is the fair point for a lower end card in the gaming standards today .
 |
| Thye settings on the DX 11 |
 |
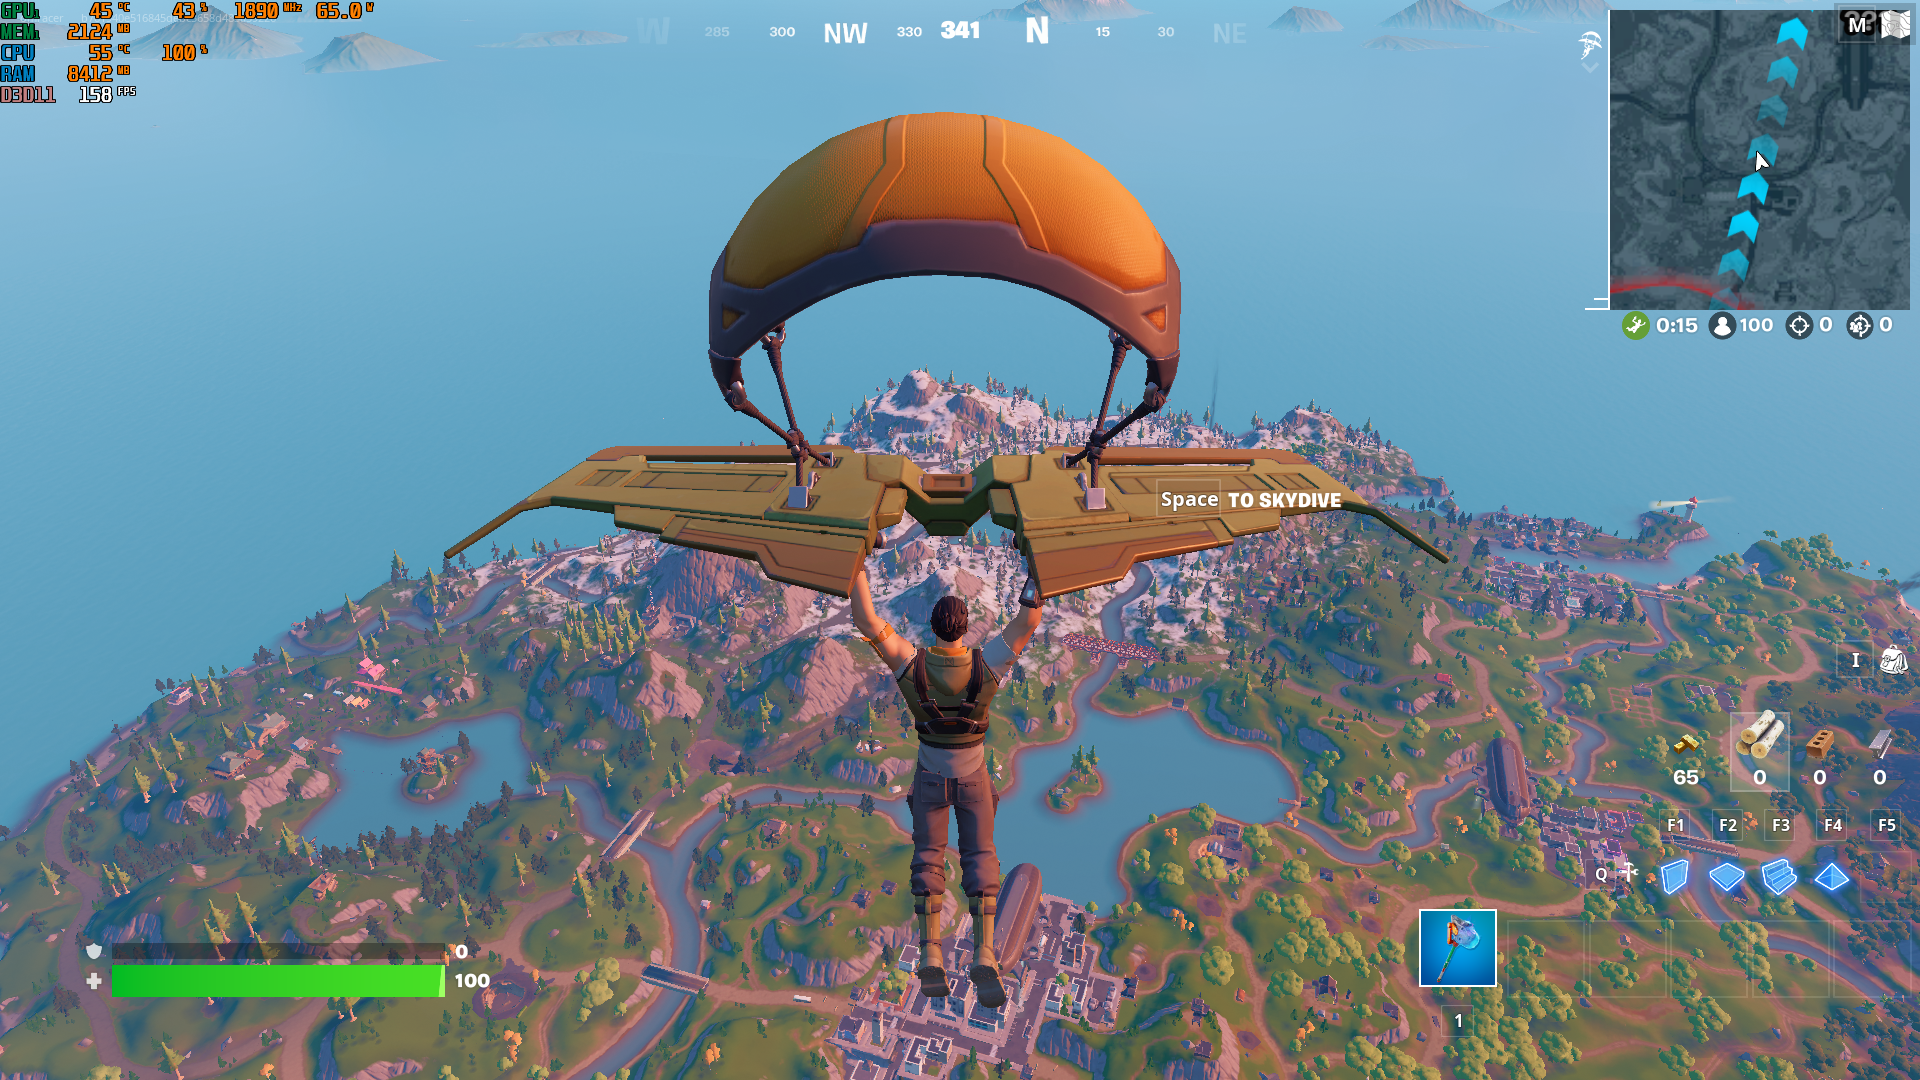
| This was getting very laggy before the dive |
 |
| Even gliding was a laggy part |
 |
| On the ground was better |
 |
| There was some major lag for entering some parts |
 |
| Towns were not good |
 |
| This camp wad not too bad |
 |
| Better or for worse is the question to ask here |
 |
| But in the end, it gets laggy to the point of Losing right on the show down |
So that means it is going to be ALOT of tweaking for this card to work, also note, using Afterburner to OC caused the PC to lock and need a reboot when I applied it. So don't do that. But with Performance mode, frames were ALOT higher but there was this concern of say, stuttering which means it was going to freeze or lag when needed the most.
 |
| The settings on performance mode |
 |
| In the lobby was better |
 |
| This part is playable now |
 |
| This was even more smoother |
 |
| The woods seemed better but the stuttering was noticeable a bit more |
 |
dual monitors on this
|
 |
It was a bit better on creative mode but that was with V-Sync so only capped at 60
|
So that means I have a lot of tweaking to check on the stuttering, if that is HDD related or SSD as well. But there was also connection issues on Fortnite so that could explain it on why it happened. Especially as fall guys did very slightly stutter but this was almost bad on both counts. But this was a shame on why it decided to not actually play fair but this is early days, also OC-ing the card did not make any change.
So we now decide on the next step and to check out video encoding, OBS will come in a future edit of this post so we will look into that
Video Encoding:
Now to be making clear, it has the Turing version of the NVENC which means it is the newer revision of the 1650 with the TU116 Chip and that means streaming is going to be better and encoding, so with what we learn, how does it perform for rendering and encoding.
#1 Vidcoder
Now for this, it can work and convert pretty quickly in a quicker timeframe than others expect it to be, But the clip from a Game base recording did convert faster almost than Realtime which is good, Like it was converting at 70-80 fps which is very good form the clip is a 30fps one. This was with H264, there is also H265 which is not tested yet.
 |
| The Settings I used for H2.64 NVENC |
.png) |
| That time it took to convert is promising for sure. |
#2 VEGAS Pro 15
Well all i can mention here that is supports it for the settings in the app itself, so if i get to make videos again i can always use this but its been one of those things I've had lack of time. But it will be an improvement from what was the case on the older Pascal version via the
1050 2GB.
.png) |
| The Settings for the GPU acceleration |
Conclusion:
This card holds up pretty well for a nice change to the 1650s, from the backplate to the extra Turing TU1126 chip fore the added effect, it feels like a more powerful GPU than I was expecting in some ways and games do run a lot better minus some exceptions such as Fortnite, this was NOT the best value due to being bought during the GPU shortage and in ways, it can be cheaper for a RTX 3050 than what the price of this card was back in November 2021.
omracer's Rating: 6/10
The Good Points:
- A GTX 1650
- It has the TU116 aka 7th Gen NVENC
- Nice Backplate
- Dual Fans
- Works with Nvidia drivers for an imported card
- Most Games feel much faster and nicer even at 1080p
The Bad Points:
- Was bought during the GPU shortage so price was not reasonable
- Some Stuttering in games like Train Sim and Fortnite
- Only a small LED Logo
- Can be a tight fit in some cases
- No Driver Disc or OEM Sticker
And there we have it, another review might be coming soon which will even more things out and also more things to pay back when I get chance to, but the personal side I'm losing time to which is putting thins on hard time for the content creation and social .


.png)
.png)
.png)
.png)
.png)
.png)
.png)
.png)
.png)

.png)
.png)
.png)
.png)
.png)


.png)
.png)
.png)
.png)
.png)
.png)
.png)
.png)

.png)
%2012_04_2022%2022_43_41.png)
%2012_04_2022%2022_46_06.png)
%2012_04_2022%2022_54_31.png)
%2012_04_2022%2022_58_41.png)


%2012_04_2022%2023_34_38.png)


.png)
.png)